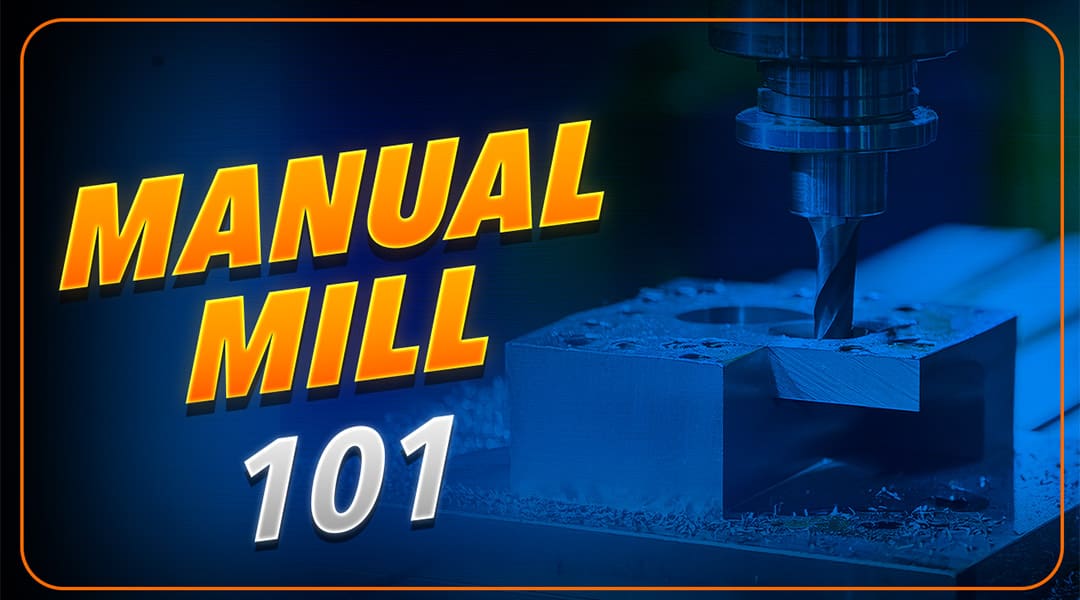
Start with Lubrication
Before powering up, lubricate the machine.
This first step is simple but critical. Proper lubrication protects moving components, reduces wear, and ensures smooth operation. Skipping this step can lead to premature damage and inconsistent performance.
Make it a habit. Every time.
Verify Speed Range and RPM
Next, confirm whether the machine is in high range or low range and ensure it is securely locked in place.
Two key reminders:
- Never shift between high and low range while the machine is running.
- On a variable speed machine, only change the RPM while the machine is operational.
Changing RPM while the machine is off can stretch or damage belts. Best case, you hear an unpleasant squeal. Worst case, you’re replacing components.
In the video, Jason demonstrates checking RPM and running the machine through its full speed range in both high and low gear to ensure everything operates smoothly.
Confirm Proper Spindle Rotation
Before making a cut, verify spindle rotation.
In low gear, forward should typically rotate clockwise. However, when switching to high range, forward may rotate counterclockwise depending on the machine.
Never assume. Always check.
Incorrect spindle direction can ruin a setup, damage tooling, or create a safety hazard.
Check Axis Movements and Table Locks
Next, check all three axes:
- Y-axis (forward and aft)
- Z-axis (knee up and down)
- X-axis (left and right)
This ensures no table locks are unintentionally engaged.
That said, table locks are not optional during machining. They add rigidity to your setup and improve cut quality. Once positioned, engage the appropriate locks to minimize vibration and increase stability.
Power and Set the DRO
The DRO (Digital Readout) is your reference system for locating and tracking features on your part.
After powering it on:
- Verify axes are zeroed where you want them.
- Clear or reset as needed.
- Confirm whether you’re working in incremental or absolute measurement mode.
Using the wrong measurement mode can quickly compound errors in your setup.
Follow a Safety Checklist Every Time
Before cutting anything, pause and walk through a safety check:
- Is everything tight?
- Are guards in place?
- Do the brake and power controls function properly?
- Is anything loose that could come off during operation?
Personal protective equipment is mandatory:
- Safety glasses at all times
- Hearing protection strongly recommended
Also, clear your work area of debris and unnecessary materials.
One practical tip Jason shares: always have an escape plan. Think ahead. If something goes wrong, where are you moving? Being prepared matters.
Proper Workholding with Parallels and a Vise
When securing your workpiece:
- Place appropriately sized parallels in the vise.
- Insert the part and snug it into the jaws.
- Give it a firm tap to seat it against the parallels.
- Fully tighten the vise.
Parallels ensure your part sits flat and parallel to the table, which directly impacts accuracy and finish.
Good workholding is the foundation of good machining.
Milling Machine Nomenclature: Know the Anatomy
Understanding the parts of the machine helps you communicate clearly and troubleshoot effectively. In the video, Jason identifies the major components of a conventional milling machine, including:
- Motor
- Head unit
- Spindle control
- Variable speed control
- Speed range selector (high and low)
- Quill feed handle
- Quill lock
- Spindle
- Table
- DRO (Digital Readout)
- Column
- Knee
- Base
Knowing these terms is essential for anyone entering the machining field.
Build Strong Habits from Day One
This video isn’t about advanced techniques. It’s about fundamentals.
How to approach a machine.
What to check before operation.
How to set up safely.
How to think like a machinist.
Strong habits early on lead to safer shops, better parts, and more confident operators.
If you’re starting your machining journey or reinforcing core skills, this is the right place to begin.